
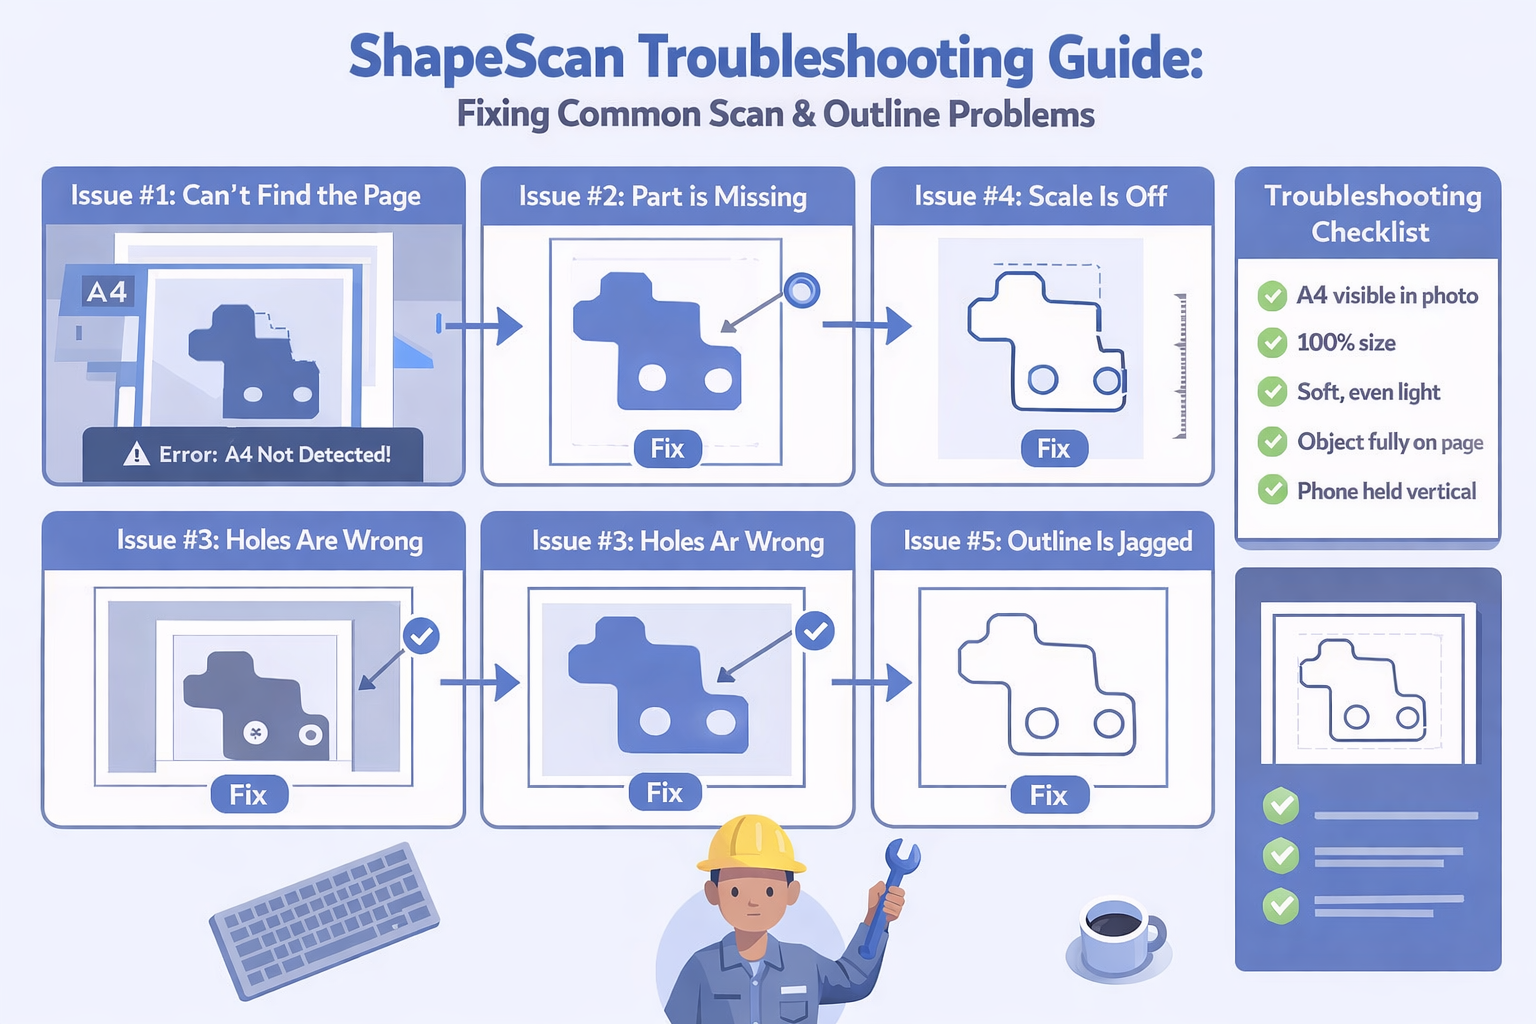
ShapeScan is designed to be simple: drop an object on an A4 sheet, take a photo, upload it and get a clean outline. But in real workshops, lighting is messy, parts are shiny, and paper gets wrinkled. Eventually everyone hits a scan that “just doesn’t look right”.
This guide collects the most common ShapeScan issues, shows you how to recognise them and explains the fastest way to fix each one. It is the article to keep bookmarked for those days when a scan behaves differently than you expect.
Before You Start: How ShapeScan Sees Your Image
Understanding a tiny bit of what happens behind the scenes makes troubleshooting much easier. In simplified form, ShapeScan:
- Detects the printed A4 sheet and corrects perspective / lens distortion.
- Normalises brightness and contrast so paper becomes a consistent background.
- Finds the object’s silhouette and any internal holes.
- Converts those shapes into clean, scale-accurate vectors.
When something goes wrong, it almost always means one of those steps did not have good enough data to work with.
Issue #1: “ShapeScan Can’t Find the Page”
Symptoms:
- Error about A4 not being detected
- Preview shows a random crop of the photo
- Outline is completely missing or wildly distorted
Likely Causes
- A4 sheet cropped out of the photo edges
- Markers or borders covered by the object or other items
- Page printed at a different scale, aspect ratio or paper size
- Heavy shadows hiding corners of the sheet
How to Fix It
- Re-shoot the photo with all four borders fully visible.
- Clear the area: remove tools, clamps or cables overlapping the sheet.
- Verify in your printer settings that the template is printed at 100% / “Actual size”.
- Move the light so the corners are bright and clearly separated from the table.
Issue #2: “Part of My Object Is Missing”
Symptoms:
- One side of the object is cut off
- Thin tabs or tips disappear
- Round corners look squared or clipped
Likely Causes
- Object is not fully on the A4 sheet
- Strong shadow merges with the background
- Low resolution or motion blur on that edge
- Transparent / reflective section with no visible contrast
How to Fix It
- Make sure the entire part sits on top of the sheet, with a small margin.
- Improve lighting: soft, even light, no sharp shadows crossing critical edges.
- Hold the phone steadier or take multiple photos and pick the sharpest one.
- For clear or glossy regions, use the techniques from our transparent & glossy objects guide .
Issue #3: “Holes Are Wrong or Merged Together”
Symptoms:
- Round holes become distorted blobs
- Two nearby holes merge into one big shape
- Small pockets vanish completely
Likely Causes
- Resolution too low for small features
- Heavy shadows inside recesses
- Object not perfectly flat on the paper
How to Fix It
- Bring the camera slightly closer (without using digital zoom).
- Add more diffuse light to brighten the inside of holes and pockets.
- Support the object so it does not tilt or rock on the sheet.
- If holes are extremely small relative to the part, consider adding them later directly in CAD using caliper measurements.
Issue #4: “The Scale Is Off”
Symptoms:
- Cut parts are consistently slightly too big or too small
- Distances between holes are off by the same percentage
Likely Causes
- Template not printed at 100%
- Photo taken with page heavily skewed and few reference markers visible
- Paper wrinkled, curled or taped unevenly
How to Fix It
- Re-print the A4 template and measure a known dimension with a ruler.
- Take the photo from directly above, with the phone as vertical as possible.
- Use a fresh, flat sheet and tape the corners lightly if needed.
- If the error is small and consistent (for example +1%), you can apply a global scale correction in your vector/CAD software.
Issue #5: “Outline Looks Jagged or Has Too Many Nodes”
Symptoms:
- Curves appear slightly “wobbly” when zoomed in
- SVG contains thousands of nodes along one edge
- CAM preview shows a very long toolpath for simple geometry
Likely Causes
- Subtle blur from low light or camera movement
- Very noisy or textured background around the part
- Excessive magnification from digital zoom
How to Fix It
- Increase lighting and keep ISO/noise low on the camera.
- Avoid textured or patterned surfaces around the A4 sheet.
- Never use digital zoom; move the camera physically closer instead.
- In your vector editor, use path simplify gently and check that dimensions remain within your tolerance.
Issue #6: “ShapeScan Takes Too Long or Fails to Process”
Symptoms:
- Upload succeeds but processing spins for a long time
- You see a generic error after processing
Likely Causes
- Very high resolution photo (huge file size)
- Extremely noisy image with lots of small details
- Unstable internet connection during upload
How to Fix It
- Use standard phone resolution instead of “48 MP ultra high” modes.
- Crop the photo around the A4 sheet before uploading if there is a lot of empty background.
- Try again on a stable Wi-Fi connection.
Quick Pre-Scan Checklist
- ✔ A4 template printed at 100% and lying flat
- ✔ Entire sheet visible in the frame
- ✔ Soft, even lighting with minimal shadows
- ✔ Object fully on the sheet and reasonably flat
- ✔ Camera held vertically above the centre
- ✔ No digital zoom, image looks sharp when zoomed in
When to Re-Shoot vs When to Edit
As a rule of thumb:
- Re-shoot if the A4 sheet or large sections of the part are wrong.
- Edit if only small holes, tabs or cosmetic curves need refinement.
It is usually faster to take a new, clean photo than to fight a fundamentally bad scan.
Conclusion: Troubleshooting as Part of the Workflow
Even with a good tool, every workshop develops its own lighting, camera and material quirks. The goal is not to avoid problems forever, but to recognise them instantly and know what to try next.
With this troubleshooting guide at hand, most ShapeScan issues become quick, one-step fixes — so you can get back to what really matters: cutting, machining and printing parts that fit first time.