
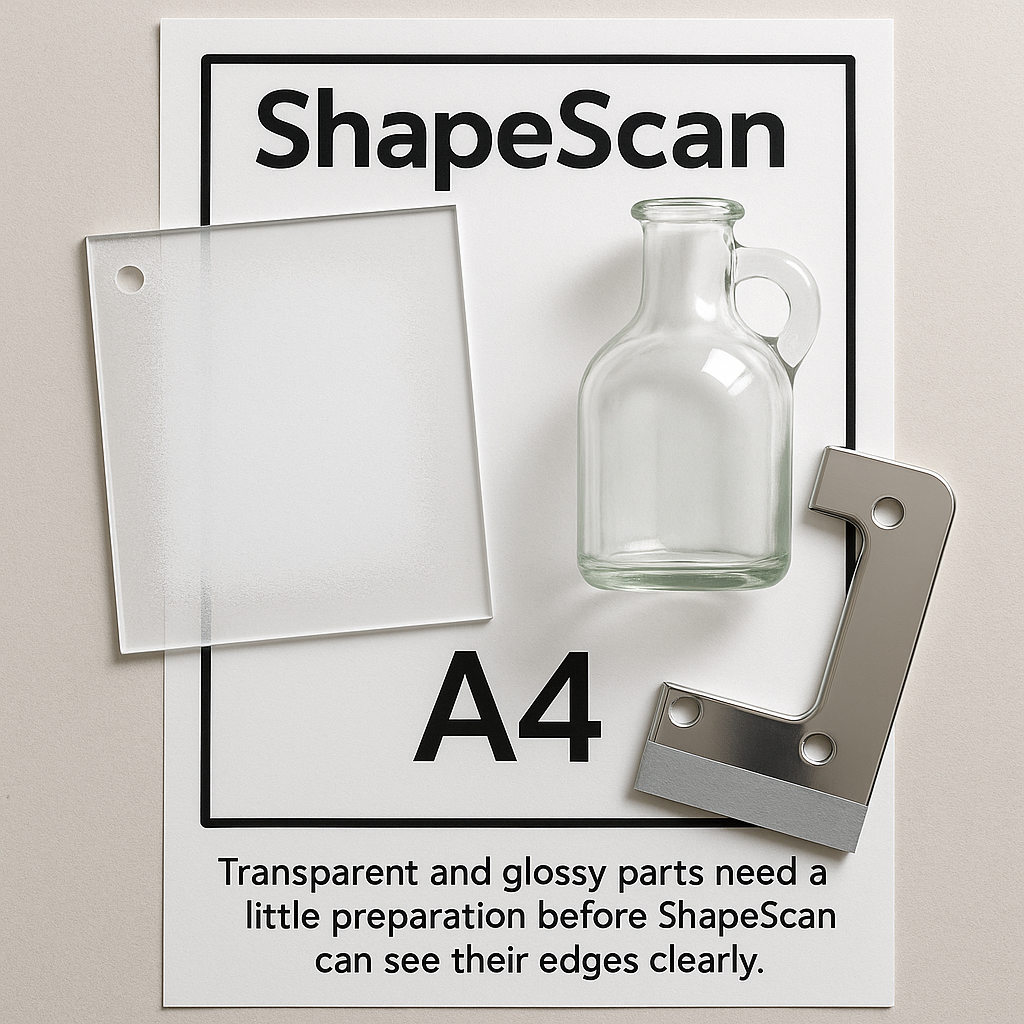
ShapeScan is built to find clear, high-contrast edges. That makes it perfect for wood, plastic and metal parts with a visible outline. But what happens when the object is transparent or mirror-glossy?
Acrylic panels, glass covers and polished metal brackets reflect the world around them instead of showing their own shape. In raw photos, ShapeScan may see the background, the ceiling lights or even your face more clearly than the true contour.
In this guide we show practical ways to prepare transparent and reflective parts so that ShapeScan can capture reliable geometry without expensive equipment.
Why Transparent & Glossy Surfaces Confuse Edge Detection
Edge detection works by looking for strong changes in brightness or colour. Clear materials and mirrors break the usual assumptions:
- Transparent parts show the background instead of a solid outline.
- Glossy parts show highlights and reflections that move with the camera.
- Glass edges often glow or blur instead of forming a sharp line.
To make ShapeScan happy, you must temporarily give the part a visible, matte boundary that contrasts with the A4 sheet.
Strategy 1: Make the Object Visible (Temporarily)
The most reliable approach is to apply a removable, matte layer to the object:
- Matte developer spray / inspection spray: a thin, washable coating used in 3D scanning that makes edges crisp without adding much thickness.
- White or grey chalk spray: light dusting on clear acrylic to create contrast.
- Masking tape or painter’s tape: perfect for straight edges and simple shapes; tape follows the contour and becomes the scanned outline.
- Paper backing: for purely flat panels, place a sheet of paper directly on top and trace the outline with a fine pen, then scan the drawing.
Always test on a small corner first to ensure the coating or tape is removable without damaging the part.
Strategy 2: Control Reflections on Glossy Metal & Plastic
High-gloss surfaces like stainless steel, chrome or polished plastic may be opaque but still hard to detect because reflections hide the true shape.
- Use soft, diffuse lighting instead of bare bulbs.
- Avoid bright objects in the environment that can reflect into the part (windows, screens, white walls).
- Darken the surroundings and let the A4 sheet be the brightest element in the scene.
- Reduce fingerprints and smudges that create random highlights.
If reflections are still too strong, combine these tips with a very light matte spray or a taped border just around the outer edge.
Step-by-Step: Scanning a Clear Acrylic Panel
- Clean the panel. Remove dust and fingerprints so any coating or tape adheres evenly.
- Apply a removable matte layer. Use spray or tape along the perimeter. Focus on the region that defines the outer contour and mounting holes.
- Place the panel on the A4 template. Ensure it lies fully within the printable area and sits flat.
- Set up soft lighting. Position a lamp bouncing off a wall or use daylight from a window on a cloudy day.
- Photograph from directly above just as you would with an opaque part, making sure all four corners of the A4 sheet are visible.
- Upload to ShapeScan and generate the outline. Check hole positions and critical edges with calipers.
- Remove the coating and clean the part once you are satisfied with the scan.
🔍 Thickness vs Accuracy
A light matte spray layer usually adds only a tiny fraction of a millimetre. For most laser and CNC work this is negligible, but for very tight tolerances you can subtract the coating thickness in CAD or use tape only along the outer edge, not on precision surfaces.
Alternative: Scan a Physical Template Instead
For parts that cannot be coated or taped (for example glass with coatings, museum pieces or fragile optics), scan a secondary template instead:
- Place the object on paper and trace around it with a fine pen.
- Mark hole centres and key reference points.
- Remove the object and keep only the drawing.
- Scan the drawn outline with ShapeScan as if it were a normal part.
You lose direct surface information but gain a safe, clean outline.
Checking the Result: What to Look For in ShapeScan
After processing a transparent or glossy object, inspect the ShapeScan output with a bit more caution than usual:
- Verify that the outline follows the correct edge and not a reflection.
- Check every hole and cutout individually.
- Compare at least two key dimensions with calipers (for example, overall width and a critical bolt spacing).
- Export an SVG and overlay it on a photo in your vector editor to spot subtle shifts.
Common Mistakes When Scanning Transparent Objects
- Relying on the natural glass edge without any contrast layer
- Photographing under strong overhead lights that produce glare
- Using glossy, patterned tables as the background under the A4 sheet
- Skipping test cuts before committing to expensive material
Real-World Example: Laser-Cut Protection Window
Imagine you want to replace a scratched acrylic window on a machine:
- Clean the old window and apply a thin matte spray on one face.
- Place it on the ShapeScan A4 sheet and take a properly lit photo.
- Generate the outline in ShapeScan and export as SVG.
- In your editor, add screw holes or countersinks if needed.
- Laser cut the new window from fresh acrylic.
The entire process takes minutes instead of manually measuring every corner radius and cutout.
Conclusion: Make the Invisible Visible
Transparent and highly reflective parts are only difficult for ShapeScan when they are difficult for the camera. By adding a temporary matte layer, controlling reflections and using templates when necessary, you can bring these “invisible” shapes into your digital workflow.
Once you master these techniques, ShapeScan becomes a powerful tool for everything from acrylic panels and glass covers to polished brackets and decorative metalwork.