
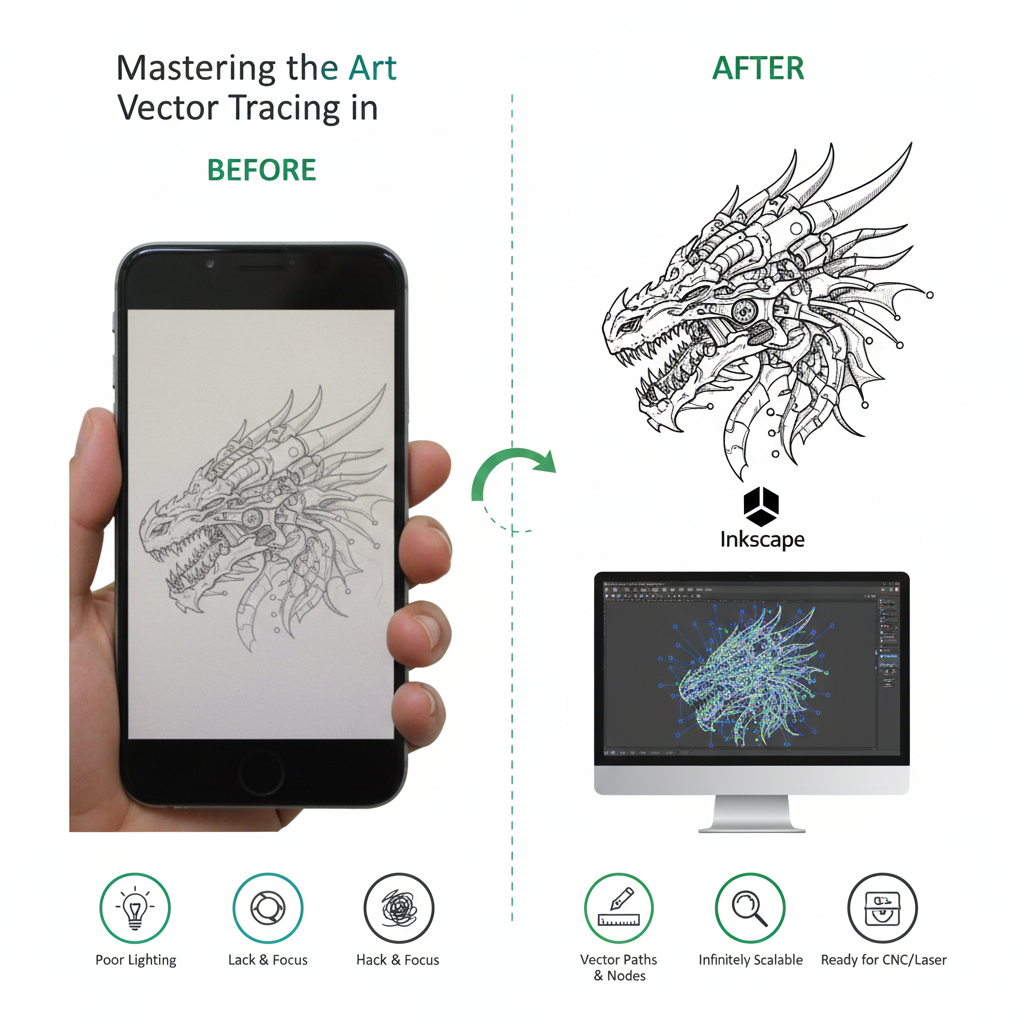
Your vector file is only as good as the photo you start with. While ShapeScan's algorithms are powerful, they need a clear "map" to follow. This guide walks through the essential photography techniques—lighting, focus, composition, and camera settings—that enable clean, accurate, and automatic conversion from photo to precision vector for CNC, laser, or CAD.
The Golden Rule: Maximize Contrast, Minimize Noise
The single most important principle is to create the highest possible contrast between your object and the background. The algorithm looks for edges, and a clear edge makes for a perfect vector path.
🎯 The ShapeScan Advantage: Beyond Basic Contrast
While high contrast is key, ShapeScan's BiRefNet-assisted segmentation can separate many objects from the sheet automatically. A clear image still produces more reliable edges and less manual editing.
1. Mastering Light: Your Most Important Tool
| Lighting Type | Best For | Pro Tip | Result Quality |
|---|---|---|---|
| Soft, Diffused Daylight | All objects, especially metallic or glossy | Shoot near a north-facing window. Use a white sheet as a diffuser. | Excellent - Minimal shadows, even detail |
| LED Panel / Ring Light | Consistency, controlled environments | Position at a 45-degree angle to avoid direct reflection into the lens. | Excellent - Controllable & repeatable |
| On-Camera Flash | Dark environments only (last resort) | Bounce flash off ceiling or use diffuser. Avoid direct flash. | Fair - Often creates harsh shadows & hotspots |
| Mixed or Harsh Light | Avoid if possible | Causes confusing shadows and inconsistent contrast for the AI. | Poor - Requires heavy manual cleanup |
Avoiding Common Lighting Pitfalls
- Shadows: Deep, hard shadows can be mistaken for part of the object. Use diffuse light to soften them.
- Reflections (Glare): On shiny metal, plastic, or glass, reflections create "false edges." Matte spray or changing the camera angle can help.
- Low Light Noise: Grainy photos from high ISO settings create a noisy, speckled outline.
2. Camera & Smartphone Settings for Precision
Optimal Camera Settings
- Focus: Tap to focus on your object. Ensure the entire edge is sharp.
- Exposure: Slightly underexpose to ensure background whites don't "blow out" and hide the edge.
- Resolution: Use the highest resolution available. More pixels = more data for accurate edges.
- HDR Mode: Turn OFF. HDR can blend edges and reduce contrast.
- Flash: Turn OFF (unless as a last resort with diffusion).
3. The Stage: Preparing Your Object & Marker Sheet
Your setup is just as critical as your camera.
✅ The Ideal Background
Use the Official Marker Sheet: The high-contrast ArUco markers provide scale, perspective correction, and a clean white background.
Keep it Flat & Wrinkle-Free: Tape or clip the sheet to a rigid board (clipboard, foam board).
Ensure All Four Markers are Visible: They must be in the frame for auto-rectification to work.
🎬 Object Placement & Staging
Clean Your Object: Dust and debris become part of the vector.
Lay it Flat: Ensure the profile you want to scan is in full contact with the sheet.
Mind the Gap: If the object has an interior hole (like a wrench), place it so the hole is clear of the sheet's graphic markers.
📐 Camera Angle & Position
Shoot Directly From Above: Hold the phone parallel to the sheet to minimize perspective distortion.
Use a Simple Tripod or Stand: Eliminates camera shake and ensures consistency.
Fill the Frame: Get as close as possible while keeping all markers in view.
4. Solving Material-Specific Challenges
| Material | Challenge | Photography Solution |
|---|---|---|
| Shiny Metal / Chrome | Extreme reflections, mirror-like surface | Use polarized light if possible. Dull with matte spray (removable). Angle light source sideways. |
| Clear Glass / Acrylic | Missing edges, refraction | Place on a contrasting matte surface under the marker sheet. Edge-light from behind. |
| Black or Dark Objects | Low contrast against sheet | Use strong, diffuse front lighting. Ensure background is brightly lit and white. |
| Fuzzy / Textured Fabric | Indistinct, soft edges | Flatten aggressively. Use sharp, raking light from the side to cast a defining shadow edge. |
| Complex Objects (e.g., Pliers) | Multiple layers, overlapping parts | Disassemble if possible. Or, ensure the primary silhouette is in clear contact with the sheet. |
5. Pre-Processing Checklist Before You Upload
Do a quick review on your phone before sending it to ShapeScan.
🔍 Edge Inspection
Zoom in. Is the entire boundary of your object a crisp, continuous line against the white background?
💡 Shadow Check
Are shadows minimal, soft, and clearly separate from the object's solid body?
📐 Marker Audit
Are all four corner ArUco markers fully visible, not cropped or obscured?
✨ Focus & Blur
Is the image sharp from one end of the object to the other? No motion blur?
6. Advanced Pro Tips for Perfect Vectors
For Maximum Fidelity
Shoot in RAW (if your phone allows): Gives you more data to adjust contrast before conversion.
Manual White Balance: Set it for your light source to ensure the background is truly neutral white.
Focus Peaking: Use this camera app feature to visually confirm edge sharpness.
For Batch Scanning
Create a "Scan Station": A dedicated, well-lit table with a mounted camera or phone holder.
Use a Remote Shutter: Eliminates all camera shake for ultimate sharpness.
Consistency is Key: Same light, same distance, same settings for every shot.
🎯 The ShapeScan Safety Net
Even with a perfect photo, some objects are tricky. Remember: Every ShapeScan result is fully editable. The built-in editor lets you snap points, delete noise, and perfect the curve. A great photo minimizes this work, but the power to fix it is always at your fingertips.
Conclusion: It's Worth the Extra Minute
Investing an extra 60 seconds to adjust your light, flatten the sheet, and check focus can save 20 minutes of frustrating digital cleanup. Think of photography not as a separate step, but as the first and most critical phase of the digital fabrication process itself. By feeding ShapeScan a clear, high-contrast, and well-composed image, you unlock its full potential for automatic, millimeter-accurate vector creation.