
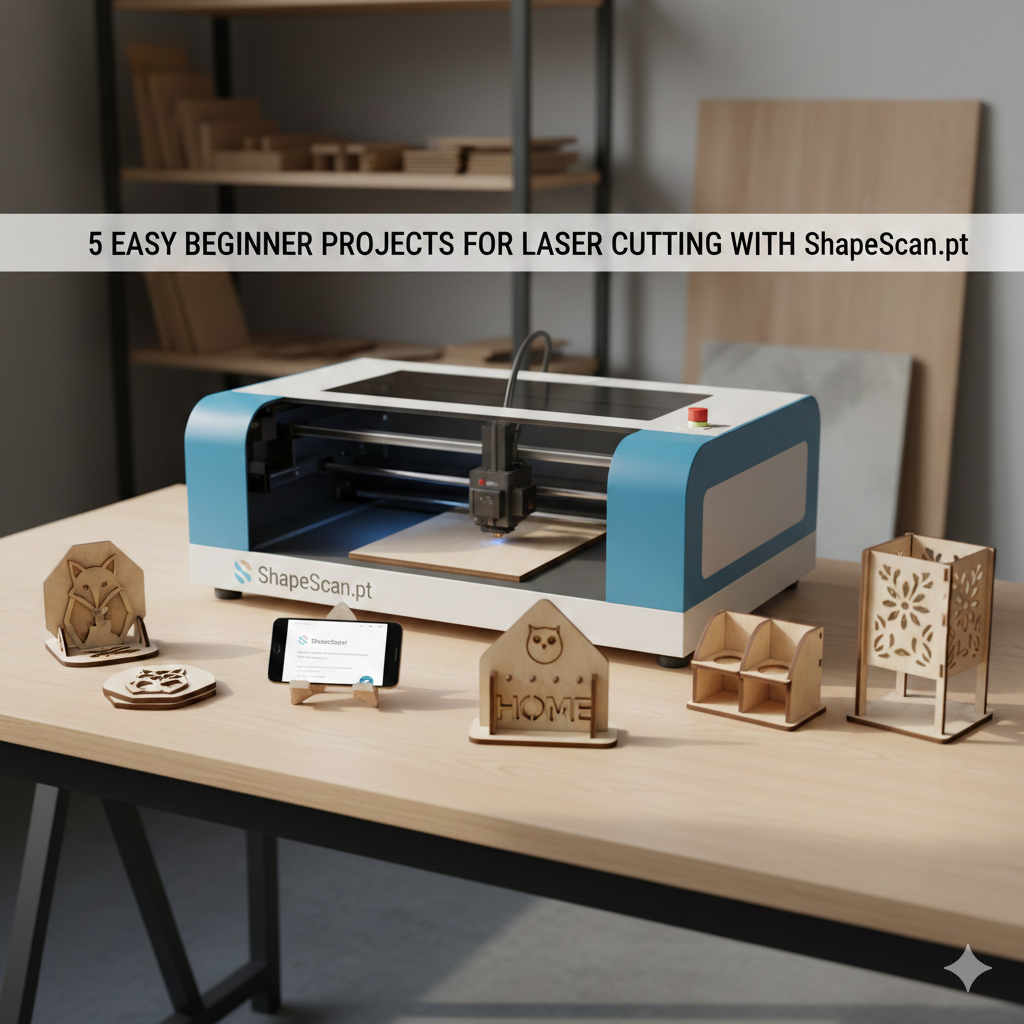
Starting with laser cutting can feel overwhelming, but the best approach is to begin with simple, satisfying projects that deliver quick results. With ShapeScan, you can skip the complex CAD software and create laser-ready designs from physical objects in minutes. Here are five perfect beginner projects that teach fundamental skills while producing useful items.
Why These Projects Are Perfect for Beginners
Each project below is chosen for specific reasons that make it ideal for learning:
⚡ Fast Results
Most cut in under 5 minutes, giving immediate satisfaction and learning feedback.
💰 Low-Cost Materials
Use inexpensive 3mm plywood or acrylic, minimizing worry about mistakes.
🎯 Single-Process
Each focuses on one key skill (outline cutting, engraving, assembly) at a time.
📐 Forgiving Design
Tolerances aren't critical, so slight measurement errors won't ruin the project.
Project 1: Custom Keychain from Small Objects
How to Create It with ShapeScan
- Choose Your Object: A small charm, coin, Lego piece, or simple shaped eraser.
- Scan It: Place on ShapeScan sheet. Use "Contour offset" of +1mm for easier handling.
- Add the Keyring Hole: In your laser software, add a 4mm circle where desired.
- Cut Settings: 3mm acrylic: 100% power, 10mm/sec speed, single pass.
💡 Pro Tip: Batch Cutting
Scan several small objects at once on the same sheet. In your laser software, arrange all outlines efficiently to make multiple keychains in one job.
Project 2: Personalized Coasters from Existing Coasters
How to Create It with ShapeScan
- Scan a Coaster: Use a round or square coaster as your template.
- Add Personalization: In Inkscape or LightBurn, add text or simple patterns inside the scanned outline.
- Dual-Process Setup: Set the outline to CUT (full power) and the interior design to ENGRAVE (lower power).
- Finish: Lightly sand edges and apply food-safe mineral oil for protection.
💡 Pro Tip: Nested Designs
Create a set of 4 coasters that fit together in a square for storage. Use ShapeScan's contour offset to make each coaster 2mm smaller than the scanned template for a perfect nesting set.
Project 3: Simple Phone/Tablet Stand
How to Create It with ShapeScan
- Design the Profile: Draw a simple standing profile or scan a commercial stand's side panel.
- Create Notches: Add 4mm wide notches at the base and crosspiece (material thickness).
- Make Two Pieces: Create identical front and back pieces, plus one crosspiece.
- Assembly: The notches create friction-fit assembly without glue.
📐 The "Kerf Test" First
Before cutting your stand, make a small test piece with notches to check the fit. Laser kerf (material burned away) affects joint tightness. Adjust notch width in 0.1mm increments until you get a snug, no-glue fit.
Project 4: Custom Bookmark with Finger Hole
How to Create It with ShapeScan
- Scan a Template: Use an existing bookmark or cut a paper template to your preferred size/shape.
- Enable "Keep Holes": In ShapeScan, turn this on if your template has decorative cutouts.
- Add Finger Hole: Include a 20-25mm circle at the top for the finger hole.
- Engrave Details: Add a name, pattern, or quote with light engraving settings.
💡 Pro Tip: Tassel Addition
Drill a small hole (or cut with laser) below the finger hole to add a tassel or ribbon. Use 1.5mm diameter for standard tassel cords.
Project 5: Minimalist Wall Hook
How to Create It with ShapeScan
- Scan a Simple Shape: A tear-drop, hook, or geometric shape works well.
- Add Mounting Holes: Include two 3mm holes for screws at the top.
- Consider Grain Direction: If using wood, orient the design so the grain runs vertically for strength.
- Finish: Sand smooth and finish with wax or oil for protection.
💡 Pro Tip: Test Hooks First
Cut your hook design from cardboard first to test the shape and mounting. Cardboard cuts quickly and lets you verify the design works before using expensive materials.
Essential Beginner Settings Reference
| Material | Thickness | Power | Speed | Passes | Air Assist |
|---|---|---|---|---|---|
| Plywood (Baltic Birch) | 3mm | 85% | 15mm/s | 1 | ON |
| Acrylic (Cast) | 3mm | 65% | 10mm/s | 1 | ON |
| Cardboard | 3mm | 30% | 25mm/s | 1 | OFF |
| Engraving Wood | N/A | 25% | 150mm/s | 1 | ON |
Note: These are starting points. Always test with your specific machine on scrap material first!
🚀 The ShapeScan Beginner Advantage
These projects work particularly well with ShapeScan because:
• No CAD Fear: You're designing from physical objects, not abstract software
• Perfect Scaling: Your coaster is exactly the size of your scanned coaster
• Real-World Testing: You can hold and examine your design template before cutting
• Iterative Design: Easily modify physical templates and rescan until perfect
Next Steps After Mastering These Projects
Once you're comfortable with these five beginner projects, you're ready to level up:
The most important rule for beginners: Embrace the test cuts. Every professional laser cutter makes test pieces on scrap material. It's not a waste—it's essential learning. With these five projects and ShapeScan's straightforward scanning, you'll build confidence and skills faster than you might imagine.