
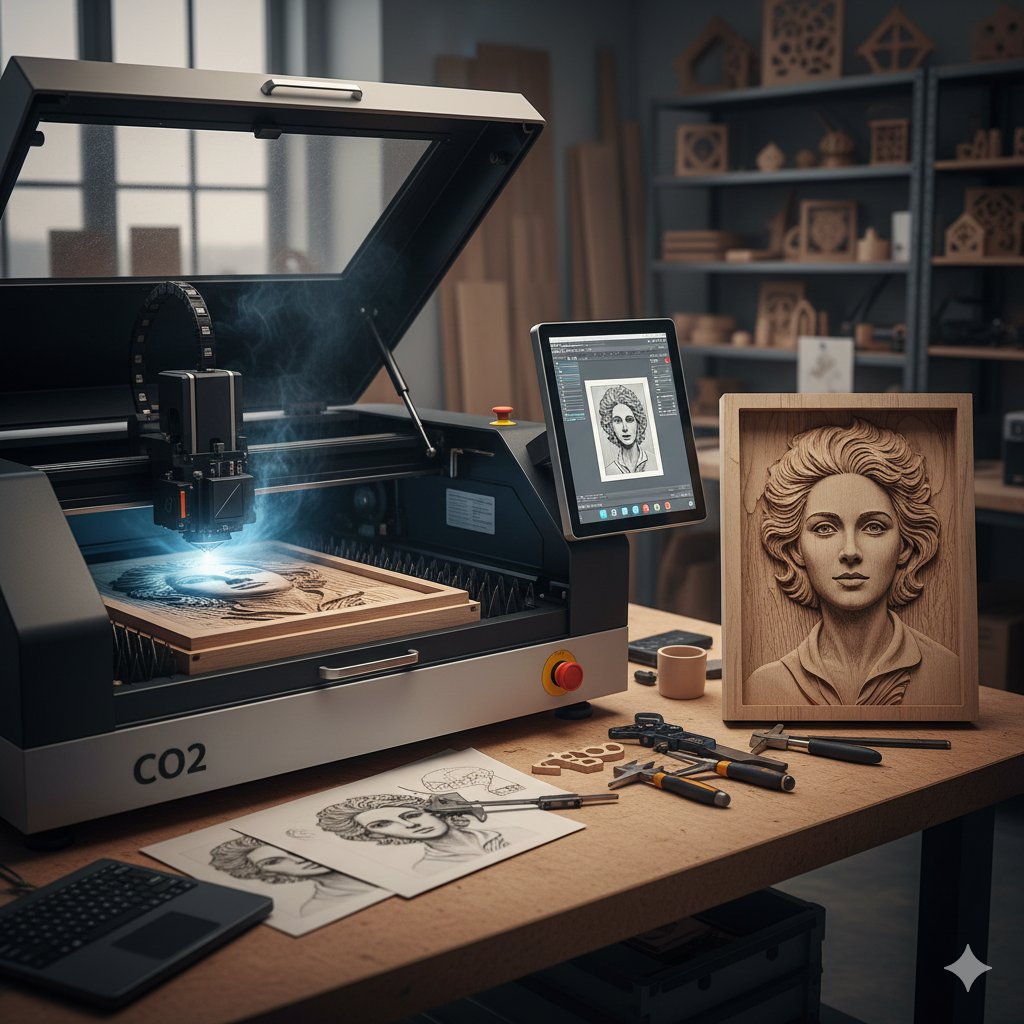
3D relief engraving represents the pinnacle of laser craftsmanship—transforming flat photographic images into tactile, dimensional artworks. Unlike simple engraving that only affects the surface, 3D relief carving interprets image brightness as depth, creating stunning topographic maps of light and shadow in materials like wood and MDF. This advanced guide covers the complete workflow from photo selection to finished sculpture.
The Core Principle: Brightness to Depth Mapping
Every pixel in your image contains brightness information (0-255 in grayscale). 3D relief software converts this value to a Z-axis height:
| Image Tone | Brightness Value | 3D Relief Result | Material Depth |
|---|---|---|---|
| Pure White | 255 | Highest point / Surface level | 0mm (uncut surface) |
| Light Gray | 200-254 | Shallow engraving | 0.1-0.5mm depth |
| Medium Gray | 100-199 | Moderate depth | 0.6-1.5mm depth |
| Dark Gray | 50-99 | Deep carving | 1.6-2.5mm depth |
| Pure Black | 0 | Deepest carving | 2.6-3.5mm+ depth |
Step 1: Selecting & Preparing the Perfect Source Image
Not all photographs work well for 3D relief. The ideal source has specific characteristics:
✅ High Contrast
Images with strong highlights and shadows create dramatic depth variation.
✅ Defined Subject
Clear focal points (faces, buildings, mountains) work better than busy patterns.
❌ Flat Lighting
Evenly lit images with little shadow detail produce shallow, uninteresting relief.
❌ Fine Textures
Small repetitive patterns (fabrics, fine hair) can create visual noise in the relief.
Pre-processing in Photoshop/GIMP (Critical Step)
- Convert to Grayscale: Remove color information (Image → Mode → Grayscale)
- Adjust Levels/Curves: Enhance contrast by pulling in black and white points
- Apply High Pass Filter: (Filter → Other → High Pass, 3-5px radius) to enhance edges
- Add Gaussian Blur: (0.5-1px radius) to smooth transitions between tones
- Resize Appropriately: For detailed relief, aim for 300-600 DPI at final output size
🎨 ShapeScan Integration: From Physical to Digital Relief
Beyond photos, you can create reliefs from physical objects:
1. Scan a textured surface (tree bark, stone, fabric) with ShapeScan
2. Export as high-contrast SVG or PNG
3. Use as displacement map in 3D software
4. Generate toolpaths for unique, physically-informed relief patterns
Step 2: Software for 3D Relief Generation
LightBurn ($$)
Method: Built-in 3D engraving mode
Workflow: Import grayscale image → Adjust height mapping → Generate toolpaths
Best for: Laser users wanting integrated solution
Fusion 360 (Free/$$)
Method: Attach canvas → Create → Sculpt → Patch from image
Workflow: More control but steeper learning curve
Best for: CNC routers, complex multi-axis relief
Image to Lithophane Tools (Free)
Method: Online converters (3dp.rocks, lithophanemaker.com)
Workflow: Upload image → Adjust settings → Download STL
Best for: Quick tests, simple reliefs
Step 3: Material Selection & Preparation
Baltic Birch Plywood
- Depth Capacity: Up to 3mm relief in 6mm sheet
- Grain Considerations: Consistent grain shows detail well
- Finishing: Sands beautifully, takes stain in gradients
- Best For: Artistic pieces, wall decor
MDF (Medium Density Fiberboard)
- Depth Capacity: Up to 4mm relief in 9mm sheet
- Grain Considerations: No grain = perfectly uniform results
- Finishing: Requires sealing, paints evenly
- Best For: Practice, painted final pieces
Solid Hardwood (Maple, Cherry)
- Depth Capacity: Conservative 1.5-2mm maximum
- Grain Considerations: Grain direction affects cut quality
- Finishing: Natural oils enhance depth perception
- Best For: High-end art, premium gifts
Step 4: Machine Settings & Techniques
Laser Cutter Settings for 3D Relief
The key is varying power (not speed) across the image:
Maximum Power Areas (Blacks)
Power: 80-100% of material max
Speed: Constant (100-300mm/s depending on detail)
Passes: 1 (multiple passes can char)
Mid-tone Areas (Grays)
Power: 40-70% (varies across image)
Speed: Constant (same as above)
Result: Software modulates power pixel-by-pixel
Minimum Power Areas (Whites)
Power: 0-10% (surface barely touched)
Speed: Constant
Note: Some software uses true 0% (no burn) for pure whites
🔥 Preventing Fire/Charring
Deep relief in wood requires high power, which risks fire:
• Always supervise the first 5 minutes of any new relief job
• Use air assist at maximum to clear debris and cool
• Consider multiple shallow passes instead of one deep burn for very dark areas
• Have a fire extinguisher rated for electrical/chemical fires nearby
Step 5: Post-Processing & Finishing
The relief emerges from the laser with a charred surface. These techniques bring it to life:
Sanding & Cleaning
- Lightly sand with 220-grit paper to remove surface char
- Use soft brush to clean debris from deep areas
- Consider sandblasting for uniform cleaning (professional shops)
Enhancing Contrast
- Apply dark wood stain, then immediately wipe off surface
- Stain remains in deep areas, creating shadow enhancement
- Alternative: Rub with artist's charcoal or powdered pigment
Sealing & Protecting
- Spray lacquer or polyurethane for clear protection
- For MDF: Seal with shellac before painting to prevent swelling
- Wax buffing adds subtle sheen to high points
Advanced Technique: Multi-Layer Relief
For truly dramatic depth exceeding material safety limits:
The Stacked Layer Method
- Process your image to extract 3-5 distinct depth layers
- Cut each layer from progressively thinner material (6mm, 3mm, 1.5mm)
- Engage relief detail on each layer appropriate to its position
- Stack and glue layers with registration pins for alignment
- Result: 10mm+ total depth with fine surface detail
ShapeScan Application: Scan a physical layered object (like carved wood) to reverse-engineer the layer heights and contours for your own designs.
Project Ideas & Applications
Personalized Portraits
Convert family photos into heirloom wooden relief portraits. High-contrast black and white photos work best.
Topographic Art
Use actual topographic maps or mountain photos to create landscape reliefs that are both artistic and accurate.
Architectural Details
Building facades, ornamental ironwork scans, or geometric patterns make striking relief panels.
Signature Business Signs
Combine logo engraving with photographic background elements for premium signage.
⚠️ Critical Safety Considerations
3D relief engraving pushes equipment harder than standard operations:
• Ventilation: Deep engraving produces significant smoke – ensure your exhaust is capable
• Machine Maintenance: Clean lenses and mirrors twice as often during relief work
• Material Testing: Always test a small section with your intended settings
• Fire Watch: Never leave the machine unattended during long relief jobs
• Power Considerations: Some desktop lasers may overheat on extended high-power runs
Conclusion: The Art of Depth
3D relief transforms laser cutting from a 2D medium into a true sculptural tool. While the technical process involves careful image preparation and machine calibration, the artistic possibilities are limitless. Start with simple high-contrast images on MDF to learn the process, then progress to complex portraits in fine woods. Each material reveals the relief differently—the grain of wood interacts with the carved depths, while uniform MDF shows pure light and shadow.
Remember that 3D relief is as much about subtraction as creation. You're not adding material, but revealing the form hidden within the flat plane—and within your original photograph. With practice, you'll learn to "see" ordinary photographs as potential landscapes of depth and shadow, ready to emerge from wood, MDF, or other materials through the precise tool of laser engraving.